4. Front plate and timing gear
|
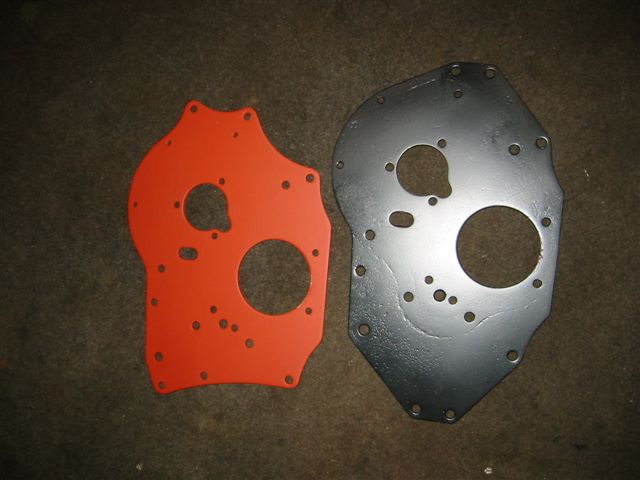
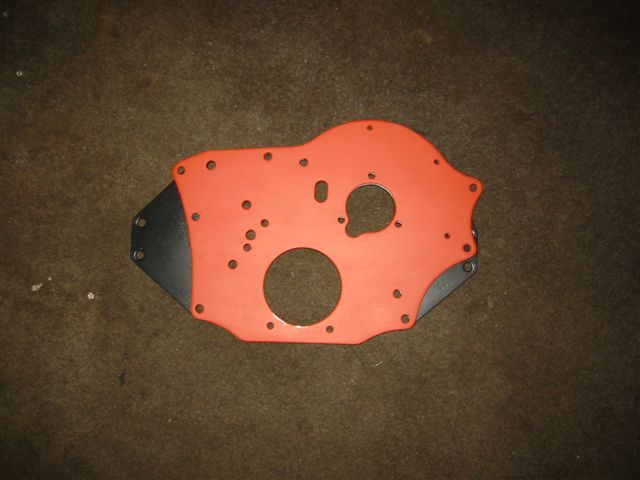
Here you can see the two types of front plate fitted to these engines, the red one is the earlier (chrome bumper) type that uses rectangular engine mounts. The black one is the later type fitted to rubber bumper cars that use the round engine mounts - this is the one I will be using as this engine is headed for a 1976 car. |
|
Here you can see the differences lie in the outer parts where the engine mounting plates attach. The rest of the plate is identical. |
|
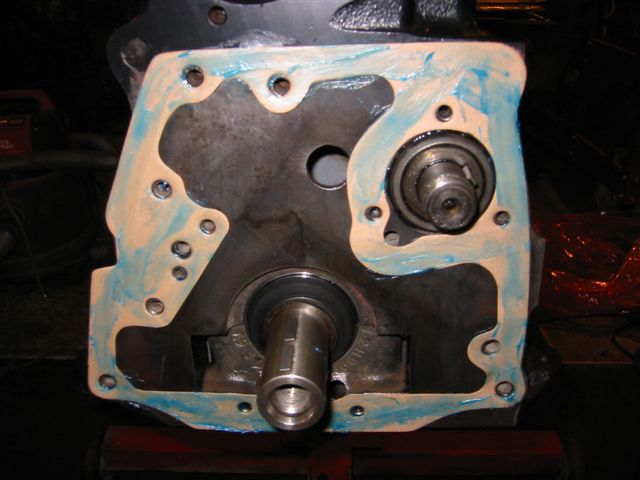
New front plate gasket coated in Hylomar sealant. |
|
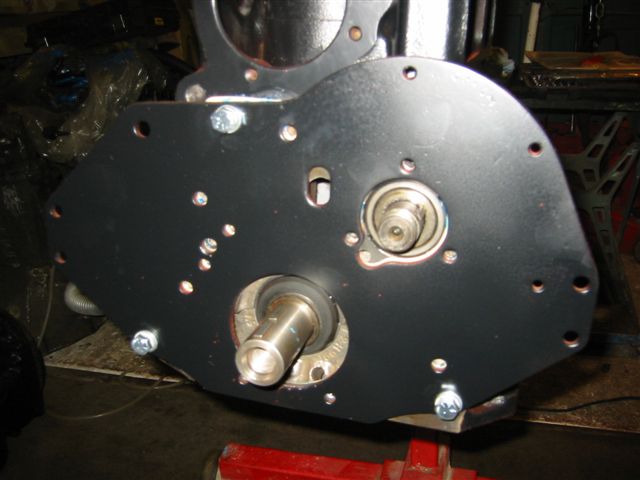
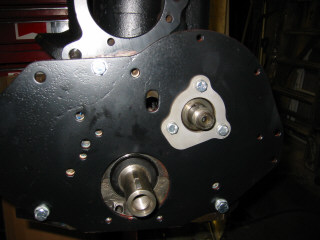
Front plate secured using the three 5/16 bolts that DO NOT go through the timing chain cover. |
|
New camshaft keeper plate secured using new bolts and washers |
|
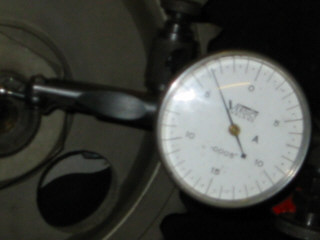
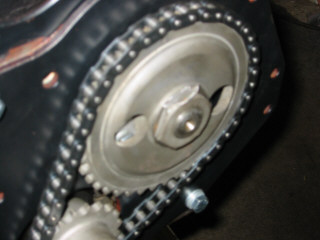
Camshaft end float measured and adjusted - the boss of the sprocket can be ground down to reduce end float or the font face of the keeper plate ground down to increase end float - in this case the sprocket was ground to reduce end float from 12 thou to 4 thou. |
|
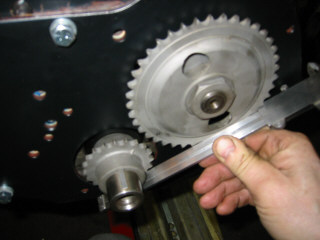
The sprockets are checked for alignment by placing a straight edge across them like this and shims added or removed from behind the crank sprocket as necessary - in this case a five thou shim is removed. |
|
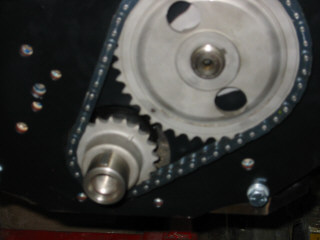
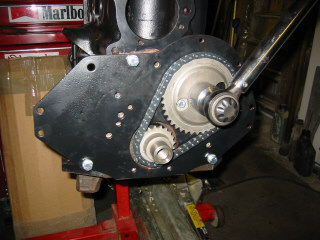
The chain is fitted to the sprockets and the marks aligned - a dot on the cam sprocket and a pip on the crank one - the cam is now "degreed" or timed - see separate section here |
|
After degreeing the cam, fit the camshaft locktab and nut and torque up to 60 ft lbs - you can just see an old club hammer head holding the crank from rotating! |
|
Don't forget to knock over the lock tab to secure the nut. |
|
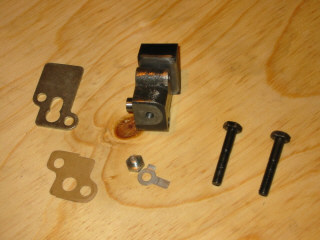
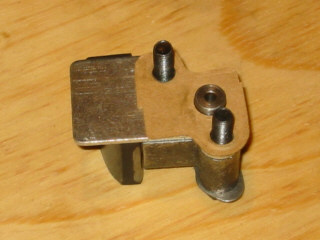
The tensioner components - remove the plug from the end of the tensioner before fitting |
|
Place the bolts through the lock tab ........ |
|
......and assemble the tensioner body with the plate and paper gasket like this. |
|
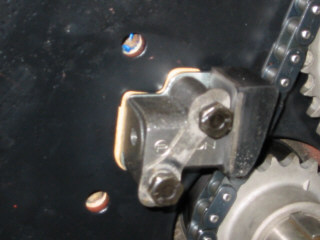
Slip the end of the plate behind the chain and bolt up the tensioner - ensure the pad is free to move in and out, overtightening the bolts can cause it to bind.... |
|
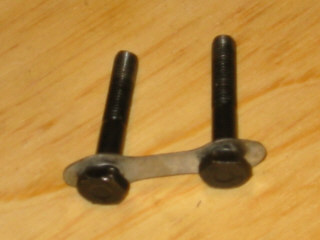
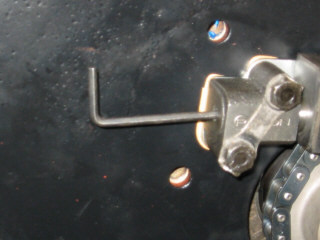
Knock over the locktab on both bolts and insert an allen key to release the internal locking device by turning it anti clockwise |
|
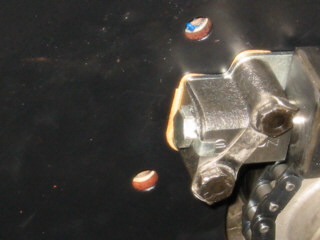
Finally,
fit the plug and lock tab to the hole in the end of the tensioner body and
knock one end over the front of the body and the other over the bolt, like
this.
|