


8. Fitting the valves
|
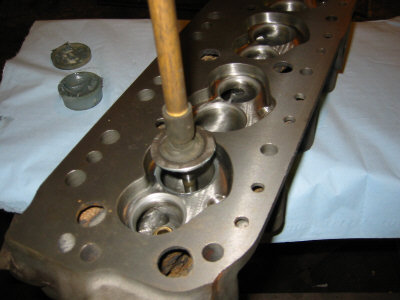
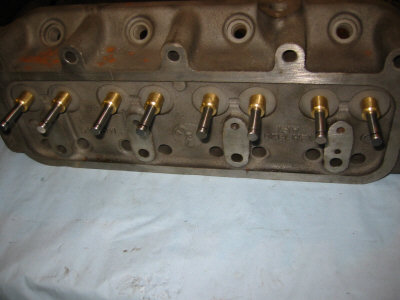
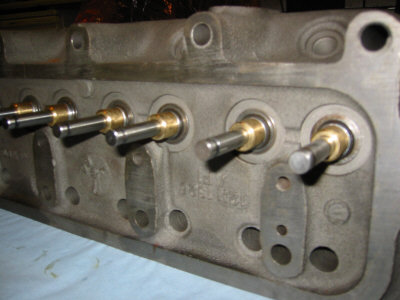
The bare head - this one is a Peter Burgess stage 2 head using the early casting - 12H1326, the original 1.56 inch inlet valve seats have been opened up to take the later 1.625 inch inlet valves. The exhaust valves are standard. |
|
The first job is to lap the valves into the seats using a very fine paste - Peter laps the seats in before I get them but I like to make sure there is a perfect seal and this also marks the width of the seat onto the valve ...... |
|
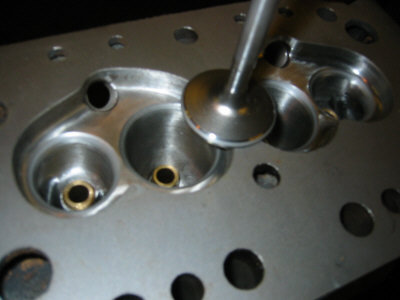
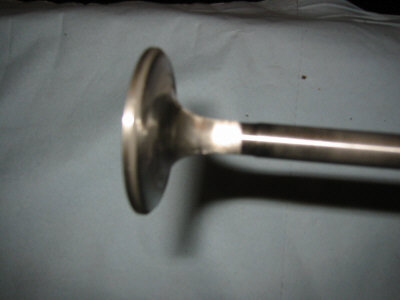
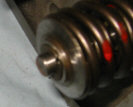
... as you can see here, the matt grey ring does not cover the whole of the valve's seat - only the outer half of it, you can still see the shiny inner half of the seat on the valve. |
|
The next job is to carefully blend the seat into the back of the valve, removing the shiny part of the seat with a 20 degree back cut. |
|
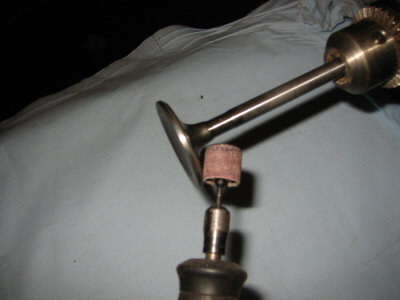
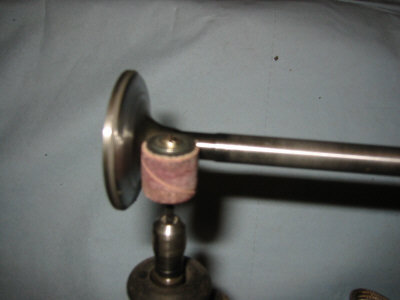
Here you can see the unmachined neck of the valve just behind the head...... |
|
.... this is also ground away to remove the step..... |
|
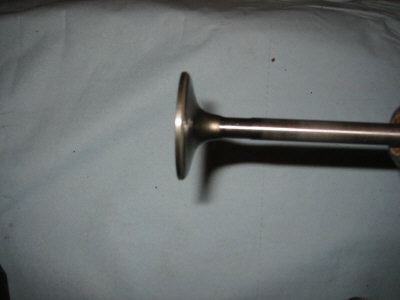
.... leaving a smoothly blended curve. |
|
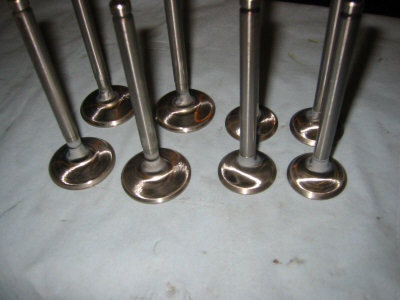
All the valves are treated the same - note that the exhaust valve seats are considerably wider than the inlets to aid with heat transfer. The backs of the valve heads are smoothed the remove casting and machining irregularities. |
|
The valves are inserted into the guides with a little oil.... |
|
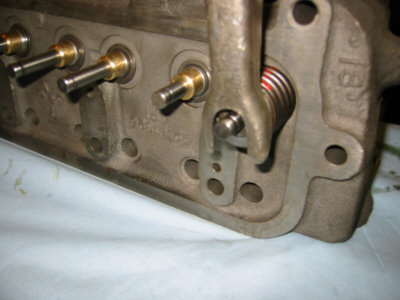
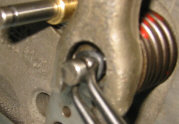
.... and the inner spring seats are fitted over the guides - this head is having double valve springs fitted |
|
Springs and cap fitted and compressed, tip - always stay out of the direct line of fire of the spring, if the compressor slips then the cap and springs take off at a fair lick! It is also a good idea to do this where they can easily be recovered if they do fly, an old blanket draped over something makes a good safety net ... |
|
... the oil seal is stretched over the prongs of a circlip plier.... |
|
... pushed over the tip of the valve.... |
|
.........and down past the cotter groove....... |
|
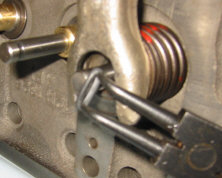
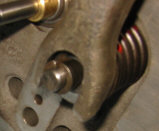
...... to enable the cotters to be fitted, the tension of the seal against the cotters usually holds them in place, but a little grease will help if they insist in falling out! |
|
Once the compressor is released the cotters will be trapped by the cap, but will stand proud of the cap .... |
|
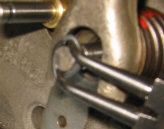
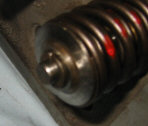
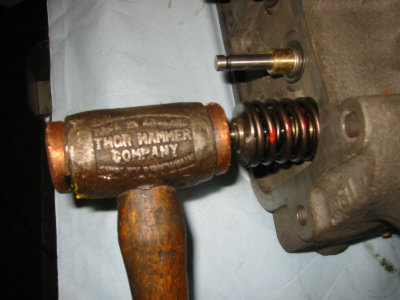
..... a couple of firm blows with the copper hammer will seat the assembly ..... |
|
.... so that the cotters are flush with the cap. |
|
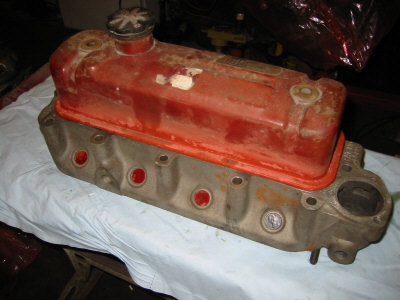
Once all the valves are in, its painting time - note the pennies in the spark plug recesses and the old valve cover to act as a mask..... |
|
..... a couple of coats of primer ....... |
|
...... followed by the black topcoat. |