
..... so that the rocker pads sit centrally over the valves - like this.
9. The rocker gear
|
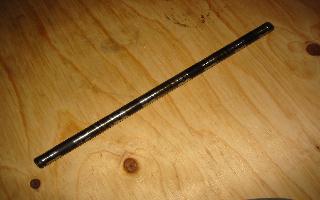
Look carefully at the underside of this old rocker shaft - you can see the bright areas worn away by the rocker bushes and the characteristic ridge in the centre where the oil groove is in the bush - always scrap the shaft! |
|
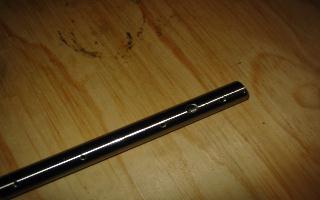
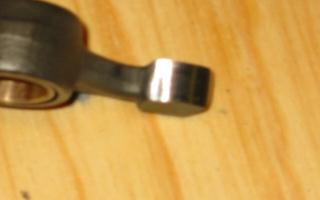
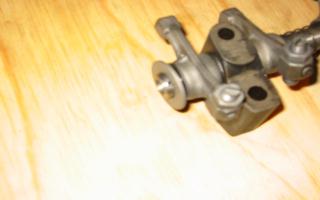
This new shaft has the locking hole clearly shown - this goes on top at the rear of the engine and ....... |
|
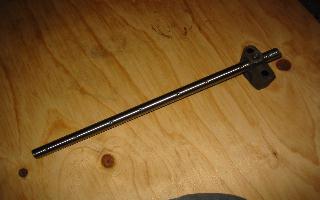
...... the rear post ( the one with the lock screw and oil feed drilling) fits on here, this way round. |
|
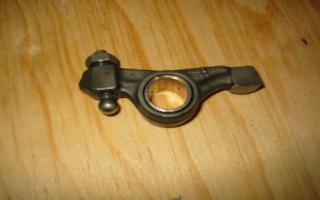
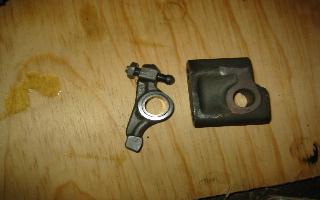
The rockers are fitted with new bushes which come with no oil holes - I drill one on the bench before fitting and line it up with the rear hole in the rocker (going to the adjuster screw) before pressing in the bush. The second hole to the front is drilled when the bush is in place. The bush is then reamed to size. |
|
The pad of the rocker is lightly ground using a Dremel with a fine sanding drum to remove the ridges formed either side of the pad leaving a correct profile to the pad - remove no more that a couple of thou, otherwise you will break through the case hardening. |
|
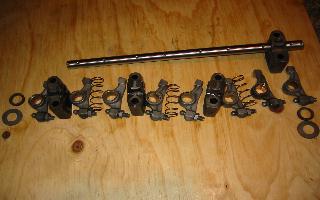
All the parts ready for assembly.... |
|
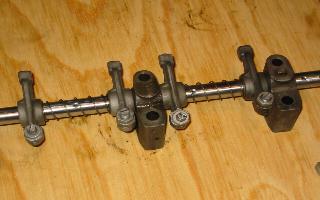
... rocker - spring - rocker ...... |
|
....... 2nd post - rocker - spring - rocker ..... |
|
...... 3rd post - rocker - spring - rocker - 4th post ...... |
|
...... end rockers - double spring washer - solid washer - split pin (don't open it out yet!!) |
|
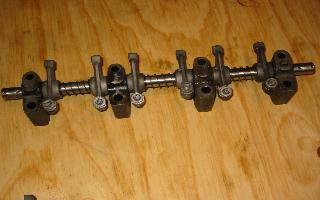
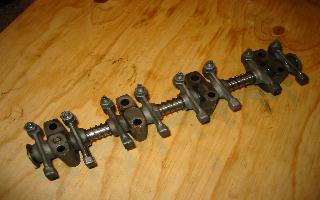
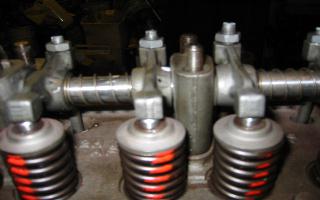
Full assembly, ready to trial fit on ....... |
|
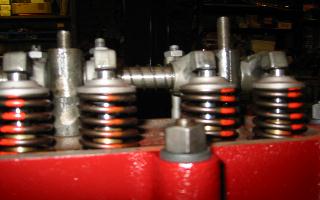
.... the engine (yes, OK, a different engine this time!) - note how the rockers do not all sit centrally on the valve heads. Mark up the rockers and posts that need to move closer together and those that need to move apart ...... |
|
..... disassemble and refit selectively to get the best fit - where this is not possible, grind the post and / or rocker side to get the best fit as necessary ...... |
|
..... so that the rocker pads sit centrally over the valves - like this. |